Saturday, June 20, 2015

Doodle Flower Fun

Hi there!

I've got a card today that is completely inspired by a card I saw on Kelly Latevola's blog called You and Your Big Dreams. I have become a big fan of hers over the past few months. Her work is absolutely gorgeous and she is hilarious as well. She has a pretty cute little boy, too. She has no idea I'm singing her praises. If you haven't discovered her for yourself, you might want to take a looksee. :)

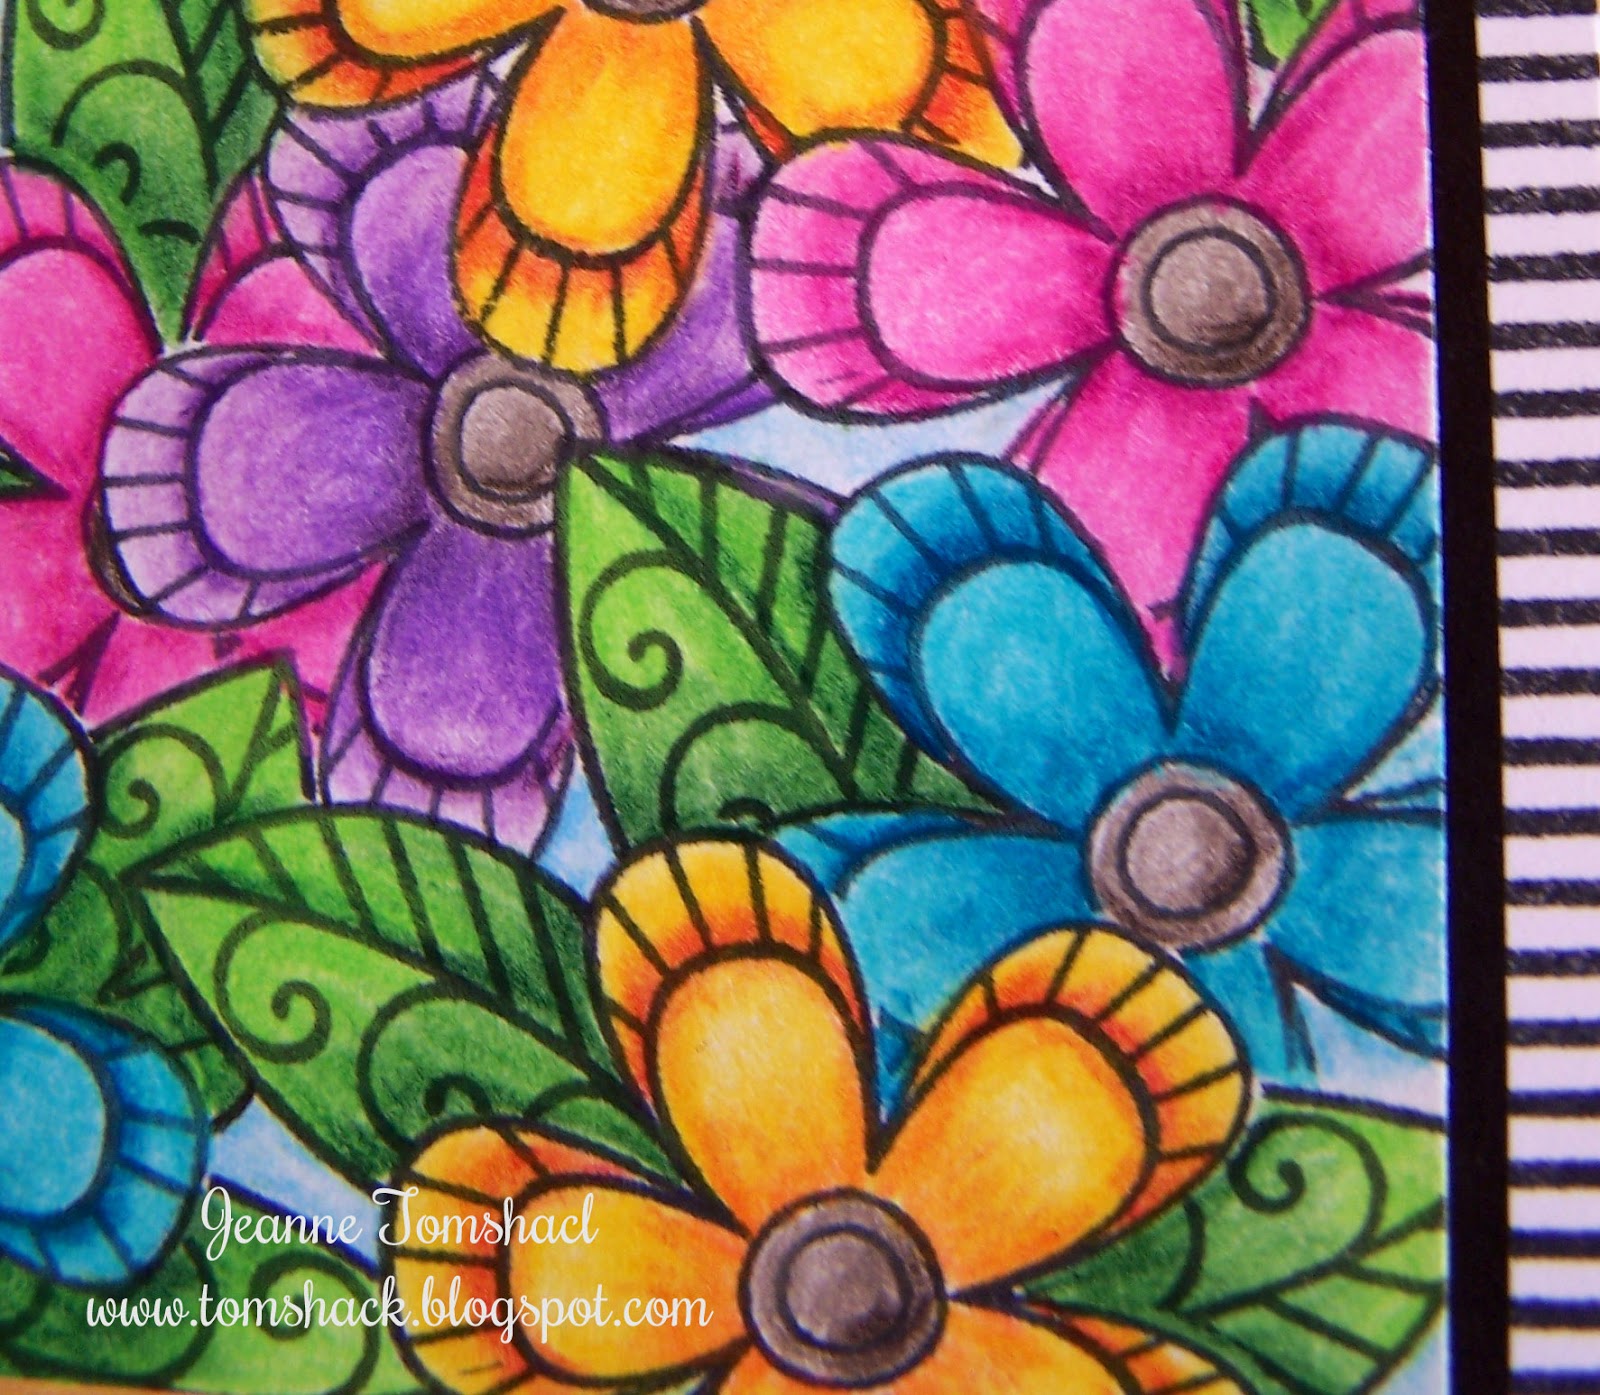
She has mad skills with Copics and she can doodle and enhance stamp images fabulously. Another thing she does that has impressed the heck out of me is mask. In the card I linked (and cased), she mentioned she used four masks to get the flowers and leaves to work. I wasn't exactly sure just what she did, but I sat down yesterday to try to figure it out. I think I sorta got it. I cut three masks of the flower and two of the leaf. By that, I mean I stamped the flower image three times on my all over sticky Post it note paper and two images of the leaf and I cut them out. Then I started stamping and masking. I absolutely did use her card as my guide. 

Then I started coloring. Only I colored with my pencils! I had fun trying to mimic the bold colors Kelly uses. I think I did okay. I didn't blend the colors with odorless mineral spirits on the flowers and leaves, I just used different pencil colors. 

Enough jabber for now...take a look at what I ended up with!
I love it!
:)
Squeal....

I really wanted to add some white dots, but, these pencils have a wax base and experience tells me the white gel pen doesn't play well with that, so I reluctantly left off the white. In the future, I might play with using some paint, but I didn't want to ruin this work. If anyone has suggestions on how I could add white dots, please share!
The side stripe strip is something I learned from a Jennifer McGuire video. She has a stripe stamp, stamps the image and she cuts a strip off to add to the side of the card. I usually forget about doing that, but not today! I wanted to add a sentiment, but wasn't sure which one, or where to put it. Not to mention I don't have fun single word dies. I could have found one to cut with my die cut machine, but again, not sure which one I'd want to use. 

Looking at this card makes me happy!

The stamp set I used is from a company called Dare 2B Artzy and the set is Doodle Flowers. My local scrapbook store carries some of this line and I really like the Zentangle aspect of the stamps. 

Thank you for stopping by and if Kelly stops by to see this, thank you so much for sharing what you love. It is very inspiring!

I hope you have a fantastic day.

Photobucket

Saturday, June 13, 2015

Tank You, Dad and a Watercolored Flower

Hi Friends!

Long post alert. 

Did you see Kristina Werner's Tank you, Dad shaker card here? I thought she did a great job with it and I was inspired to make a version. I don't own the letters or the Lawn Fawn stamp set she used, but I didn't let that stop me! I found a similar style of lettering on the Artiste cartridge for my Cricut (cut at 3/4 inch) and I own the Paper Smooches version of fish stamps called Surf and Turf. 

And here is my version of the card. Mine is 4 1/4 by 5 1/2.  I think that is called standard size?


Close up so you can see some of the sequins I used. I also used Wink of Stella on the white space of the letters, but the camera didn't pick it up. I almost wanted to add something to the white frame, but was too afraid I would mess it up and didn't want to have to start that over again.

It was a fun card to make. I took my time and let it dry before adding to the background('m learning patience with watercolor techniques). I used the freezer paper method of masking that Kristina showed and it worked very well, I think. I will have to remember that!

The images are colored with Prismacolor Pencils. I didn't used odorless mineral spirits to blend this time.  Even though I used two layers of foam tape, the loose fish pieces still stick. Might be smart to add a third layer. Oh well. I think Steve will like this card that will be from the girls next weekend.

And here is my second card. I keep seeing these card where the image is heat embossed and then watercolored inside the lines. My friend, Barb's work really inspires me. So I sat down to play a bit yesterday. I heat embossed the stamps from an old June, 2013 Stamp of the Month Close To My Heart flower set called A Flowering Bunch with Versamark Dazzle Champagne ink and clear embossing powder. I might try this again with white embossing powder. Then I used Pear ink for the leaves and Vineyard Berry for the flower. I squeezed the ink onto the inside of the lid and picked up the color with a wet brush. I like the variations in color I was able to get. I originally was going to try to use different colors of pink, but in the end liked the variations of the single color best. 


I tried to get a close up to show the Wink of Stella I added to the images, but my darn camera didn't pick up the sparkle. 

The background stencil is one I picked up at Joann. I used Blush ink . The thank you is from Lawn Fawn and the die is Spellbinders. 

The sparkling sequins are a super happy mail surprise from my friend Alanna
Thank you SO much, sweet friend! Made my day!
:)

That's it from me today. 
Thanks so much for stopping by. I hope you are having a happy day.

Hugs,
Jeanne


Monday, June 8, 2015

Wryn the Mermaid

Hi Friends!

Way back in April, I saw this card on Handmade by Christine and was smitten with the way Christine colored the mermaid. I adored the purple hair! And I wanted to see if I could color the hair with pencils to look somewhat similar. So I picked up the digi image here at Tiddly Inks and started coloring. My crafting time has been so limited recently that I had to put the image aside. Well, yesterday I finished with the hair and added some sparkle. Today I fussy cut her and played around with some distress inks (Salty Ocean, Peacock Feathers, Tumbled Glass and a bit of Seedless Preserves). I added some misting of water mixed with Perfect Pearls and at the last minute decided it needed a few sequins. Oh and I embossed the Cuttlebug swirls onto the background piece. Thought they would mimic water, sorta, kinda. 

Here's how the card turned out. 
Feel free to enlarge if you want. I brushed on some Diamond Dust Stickles here, there and everywhere. 

And a close up, just because.

I have to admit I'm pretty happy with the final result. 

:)

Yay for summer break!
I can sneak away a bit more.
Eeek! 
Thanks so much for stopping by!
Have a happy day.
Hugs,
Jeanne

Sunday, June 7, 2015

Sidekicks and Shakers

 Hello Friends!
I'm back to share a couple of cards. Yippee!
Both of them are shakers. So fun!

The first one is a case of one I saw here on the Lawn Fawn blog. I had a sidekick who wanted to help. She hadn't done a shaker before so it was fun showing that technique. She tried and tried to get the sentiment stamped just so, but in the end I stamped it. We had to do two lines as the sentiment was too long to fit across the stitched rectangle. I came thisclose to snipping the stamp apart, but my sidekick didn't want me to do that. She did all the coloring of the image (with my pencils and blending with odorless mineral spirits). Then she added some Stickles for some extra sparkle. I had her use a paintbrush to paint on the Stickles, so it wouldn't look too globby. 

I love the look of using sequins, but I haven't jumped on  ordering them from Pretty Pink Posh yet.  I don't know which colors would be best to get. These we picked up at the craft store. Oh and I showed Jess some beads I had and she decided we needed to use some. :) 
Training her up right, aren't I? LOL
We did this card in shifts and just put the finishing touches on it today. I think she did a great job!

She decided she was done for today, so I pulled out this Paper Smooches set I picked up in early May when my local scrapbook store had a sale. Had to take advantage, right? Anyway, I was inspired by this card by Mellymoo and wondered what it would look like as a shaker. 


Not too shabby, huh? I added some iridescent sequins and some tiny microbeads I've had in my stash for practically forever. Those microbeads were a last minute thought and had I planned it better, they wouldn't cover up the crab so much. I figured maybe it is okay, because crabs don't want to get caught and he could be hiding a bit. Shrugs. Works for me anyway.
These are colored with pencils and blended with odorless mineral spirits. 

And with that, I've sort of participated in the second Coloring Challenge that is going on this month. Thanks, for inspiring me to do it, Barb. Barb is an enthusiastic participant and shares what she colors on her blog. It encouraged me to get something colored, anyway. Yay! You don't have to complete a card, but I managed to this time. 

That's it from me today. 
Thanks ever so much for stopping by. 
I hope you are having a great day.
Hugs,
Jeanne


Saturday, June 6, 2015

Cross Stitch Gift and a Little Zen Doodling

Hi There!

Guess what? The sun is shining. For the moment, anyway! Oh my goodness, we have had a ton of rain here in my neck of the woods. The past three days alone, we've had pretty loud thunderstorms, hail and even some tornadoes touch down about 15 minutes north of where I live. It's a wild and wacky springtime in the Rockies. I haven't been able to plant anything and may not at the rate we are going. 

Hey, guess what else? 
I've got a few things to share! 
Yay!

A very good friend of mine is going to be celebrating a birthday very soon. After I finished the dragon, I started on a counted cross stitch project. Got it done fairly quickly and have been searching the past several days for a frame. Um, and haven't been successful at all. I decided this morning to look for creative ideas to finish cross stitch projects. I came across this idea and thought it would be a neat way to showcase the project. 

Here's how it turned out. 


I tried to take a picture with a little of the side showing so you can see the ribbon and if you look at the very bottom of the block on the right side you can see part of the pin I used for legs. I really liked this fun way to finish the project.

I pinned a few other ideas for creatively finishing cross stitch project for future use. Framing can be hard, especially for odd sized pieces. 

In shopping for frames at the craft stores, I came across a brand new publication called Zen Doodle Workshop. I found it at Joann and also at Barnes and Noble. It's a pretty neat magazine. I liked all the ways you can use your doodling. One of the projects I saw is creating a box with Kraft cardstock. I have a need for a small, 3x3 box, so I decided to give it a go. I really liked the idea of white on Kraft.   
Here's what I came up with. Not great, but not too terrible for a first effort, I don't think. 
I was having some issues with my Signo Gel pen skipping and such. I added a little detail with a black pen. But if I were to do this again, I'd go with a pencil for detail like they said to use in the tutorial. 


Here's a glimpse at the side. 

I really liked the idea of decorating the paper and folding it into a box. Makes it a bit more personal for gift giving. 

That's it from me for now. 
Thanks so much for stopping by. 
I hope you have a great day.

Jeanne

Friday, May 29, 2015

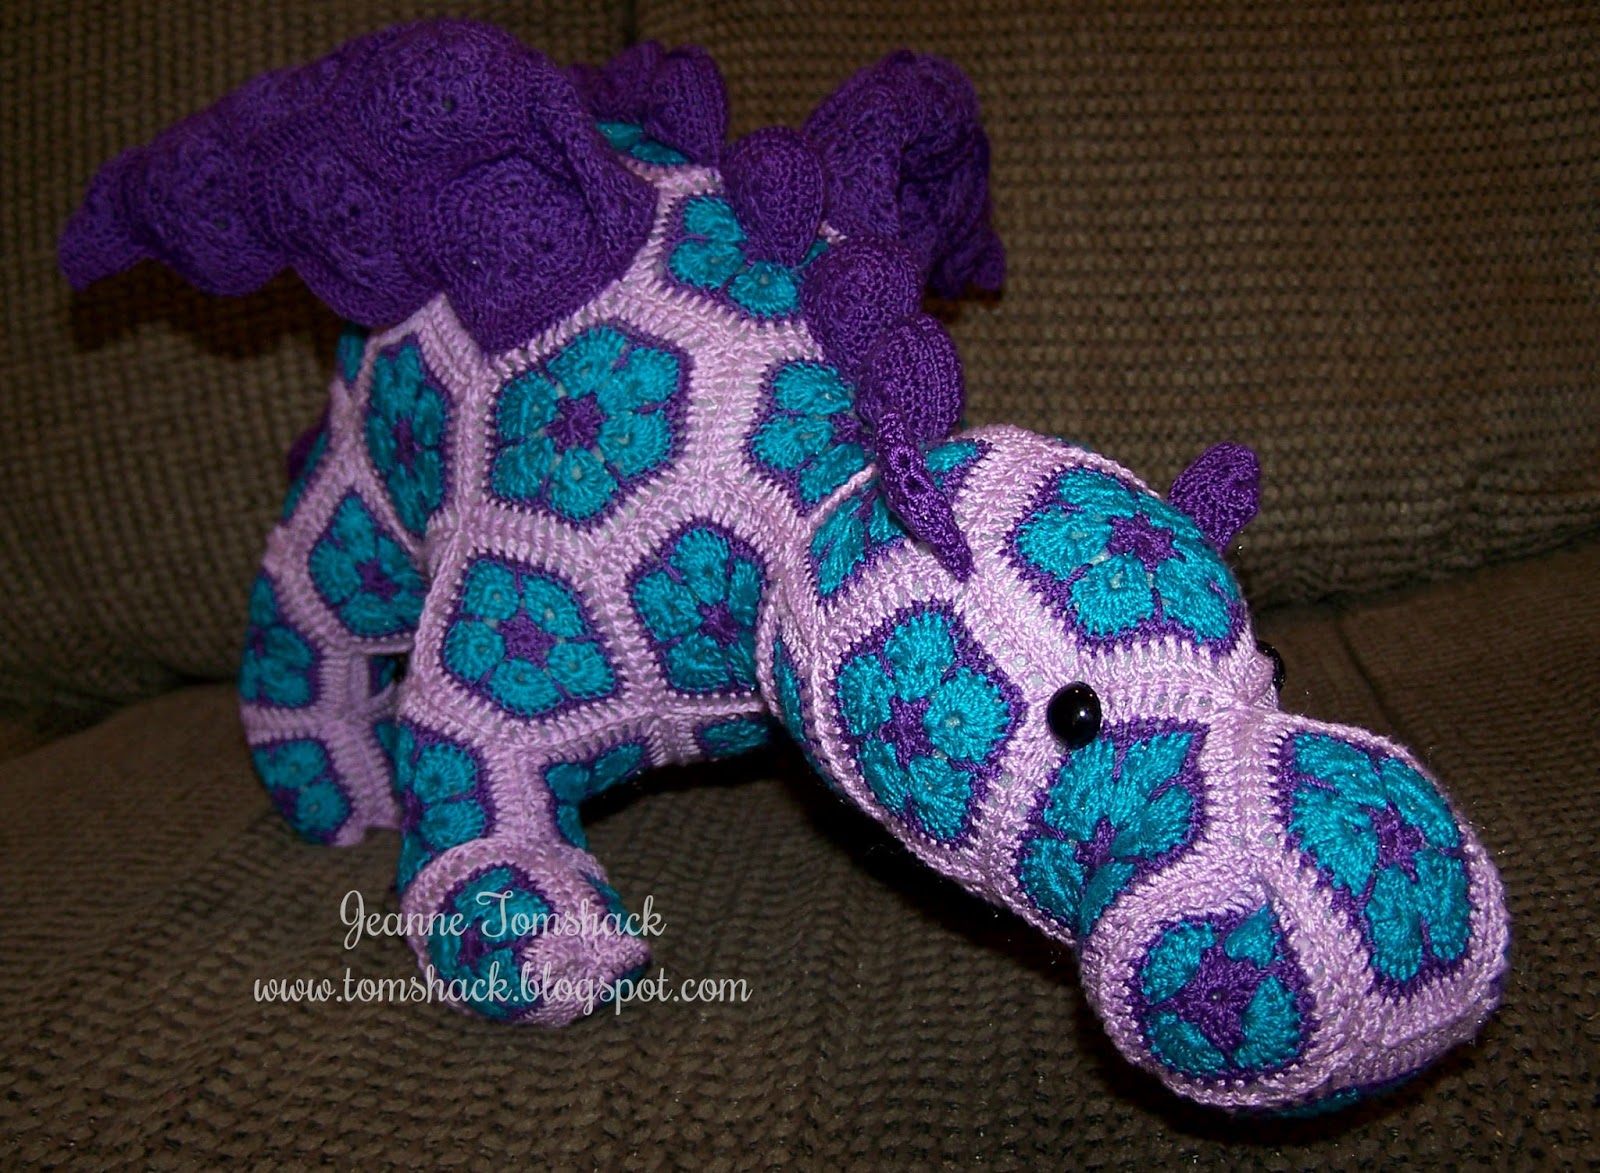
Crochet African Flower Motif Dragon called Smaug

Hi Crafty Friends!

Yay! School's out for the summer! :) 

Now that I have a minute to breathe, I thought I'd show you a project I've been working on recently. It's another doll using the African Flower motif using a pattern created by Heidi Bears. 

My assistant manager at work asked me if there was a dragon pattern like the hippo I had made her daughter. There is indeed a dragon pattern! She asked me if I'd be willing to crochet the dragon for her and I agreed. I've been pretty busy working on this so that I could finish it before school let out for the summer. I handed it over earlier this week, but not before I took a few photos. He/She is bigger than the pictures suggest and it was kind of hard to get even decent photos. I was kind of surprised at just how long it turned out to be! It was fun to create, but also a challenge. I can't imagine how big this would have been had I used heavier weight yarn. I used the Aunt Lydia's crochet thread and it seemed huge!

Enough talk, here are the photos. Hope you enjoy!


In case you were wondering, 128 motifs were crocheted to complete the project. That is way more than I've had to crochet for previous projects I've made. But many were for the wings and the scales, so it makes sense, I guess. 
My friend at work was thrilled with the final project. Yay!
It's a one of a kind, for sure as I have no desire to make a second one. LOL 

Thanks for stopping by. I so appreciate you! I know I am completely hit and miss when it comes to posting and I am sorry for that. Life and kids keeps me hopping, but you all are busy, too! I so admire the bloggers who are able to juggle everything a bit better than I can. I'll keep plugging away!

Thanks again for the visit and I hope to be back again soon.

Hugs,
Jeanne

Sunday, May 3, 2015

Shimmery Butterfly Thanks Card

Hi There!

I recently started following a blog called Me and Minime Crafting. Marika is a wonderful artist and I've watched a video or two of her watercoloring. Oh my! Such talent. :) Anyway, she recently posted this card and I was instantly smitten. Butterflies! Squeeeee! I really liked how she heat embossed the image in white and chose to watercolor the butterflies green. I decided to try my hand at a similar look.
Since I felt a bit more successful watercoloring with pencils, I used them again. Why mess with success, right? These butterflies are from an old CTMH butterflies set (long retired, I'm sure). I forgot to note the name of the set, and I'm too lazy to go back and look for it. Let me know if you'd like the name of the set. I stamped them in Versamark and heat embossed with white. The first butterfly I made was all green. Then I started to wonder (uh oh) what it would look like with some blue. I liked the result! I set them aside to dry. Then I added some shimmer with my Wink of Stella pen. Only you can't really tell. I set this aside and left it alone until today. Should I mention I'm working hard now not to rush myself in finishing a card? 

I sat back down today and decided to fussy cut the butterflies out. Initially I planned to plop them onto white cardstock, but I got to thinking again...I wonder what it would look like if I washed a watercolor card piece with shimmery blue watercolor? I liked the result! (whooo hoooo 2 for 2)

You can see the shimmer much better in this second photo. :)

Finally, I wanted to add a sentiment and I really like the thanks Marika used. But I don't have that die. I noticed some wayyyyyyyy old Cuttlebug dies on a shelf. I mean these were released the first year the Cuttlebug was, if I remember correctly. I remember when purging before debating whether I should donate the dies as I'd not used them much at all. But I decided to keep them. Golly! Am I happy to have hoarderish tendencies when it comes to crafty supplies. :) I cut the thanks with a shimmer cardstock from Michaels. It's a recent release stack called Sophia and is part of the Recollections brand. Adds just the right touch. And to finish off the card, I added some sequins. 

Happy sigh!

Thanks so much for stopping by. 
I hope you have a happy day.

Hugs,
Jeanne