Showing posts with label Colored pencils. Show all posts

Monday, July 9, 2018

Butterflies and a Dragon

Hi There,

Last week we drove to Sioux Falls, SD to visit my husband's family. It's our annual vacation. While there, we visited the Sertoma Butterfly House and much to my surprise, I was "kissed" by butterflies several times. Usually they like my husband, but I'm thinking they were drawn to my white hair and possibly the bright blue top I was wearing. πŸ˜‰It was fun. 

We left on Saturday and I was unable to do any coloring on the last day of the challenge. I was a little bummed about that as I managed to post something that I had worked on for all but the last day of the challenge. A definite record for me! Ah well, it was fun doing all sorts of coloring. Scroll down to see the completed dragon that I colored from Ivy and the Inky Butterfly.
Butterfly kisses at
Sertoma Butterfly House

Sertoma Butterfly House

Sertoma Butterfly House

Sertoma Butterfly House

Day 29 of the 30 Day Coloring Challenge
From Ivy and the Inky Butterfly

Thanks for stopping by. It's good to be home.  I hope to get to do some creating very soon!

Crafty hugs,

Wednesday, January 25, 2017

A Card and An Afghan!

 Hi Friends!

I'm feeling pretty confident that the new batteries for my camera did the trick. I was able to take a bunch of pictures for this post and the camera didn't shut off. Whoo hooo!!!πŸ’ƒπŸ˜Š (Blogger now allows me to add emojis!)

When I was at Michaels a week ago, I came across a display that had several different stationery type items that one could color. I found card sets that included 6 cards of one design and envelopes. The kicker is the pack was $1.50! There were several designs, but the flower ones really drew my eye. There were also gift bags with designs, gift tags, gift boxes. I just got the cards. And I colored one of them this past Sunday while watching the football playoff games.
I really liked that the design continued to the back side of the card!
This was colored with my Prismacolor pencils. And I took my Clear Sparkle Spectrum Noir pen and filled in the background of the front of the card. I love the sparkle it adds. I also added a bit of glitter gel pen to the stamens on the flower. Very fun! 

As most of you know, the lighting in my house isn't really conducive to cardmaking at night, but I am always working on some sort of handwork project in the living room. I recently finished crocheting a granny square afghan from a book called A Granny Square Christmas. I got the book from Joann's and fell in love with the afghan on the cover. Had to make it! I started around Christmas and finished a couple of Sundays ago. I used all Red Heart Super Saver yarn. 

Amy wanted to photobomb and I told her to go ahead and sit on the afghan to give you some perspective as to the size of the squares. 

Then sitting  led to laying down. LOL She is about 5'3"

That's it from me for now. I hope you are having a good week!

Thanks so much for stopping by!
Hugs,
Jeanne


Monday, August 8, 2016

Ink Blending and Treehouse Coloring Page Update

Hi There!

I fiddled and futzed around today. I couldn't seem to settle down on one project for whatever reason. 
I finally decided to try some Distress Ink blending. One day last week, I came across a pin that captivated me. That led me to The Colours of Magic on Instagram. I can't remember which pin it was that lead me to Bianca's account, but I ended up watching thisYou Tube video. I've been on the hunt for that narrow Post It tape that she uses. Apparently it isn't sold locally, so I ordered this from Walmart. I hope it's the right stuff. In the mean time, if you check out this talented gal's Instagram account, you will see she shows many lovely blended color combinations. Since I have to wait for my order to come in to make the neat looking stripes, I tried my hand at some ink blending. 
Here's how Peacock Feathers, Scattered Straw and Worn Lipstick turned out for me. 
At first I wasn't too sure, but the combination is growing on me. Some of the other combinations she uses, include colors I don't own...yet. :)

I also worked on the Treehouse coloring page for the first time in what seems like weeks. I finished the trunk of the tree and added some color to the accessories around the tree house. 

I thought I messed up the trunk. I was definitely feeling a bit rusty when I first sat down, but hopefully it doesn't look too bad. 

Boy, looking at this picture, that base for the treehouse sure stands out. Hmmmm...maybe it won't so much after I'm done coloring. Otherwise I might need to add something to tone it down a little. 

That's it from me today! 
Thanks so much for stopping by.
Hope you've had a great day!

Hugs,
Jeanne

Monday, July 18, 2016

Colored Today~Works in Progress~Double Rainbow!

Hi There!

Thank you for the lovely comments on my posts recently. You all are making me feel pretty darn good about my coloring attempts. I'm tickled you like what I have been sharing. 

I've got some works in progress to share today in honor of that 30 Day Coloring Challenge. I am struggling to work on cards because I mainly just feel like coloring in my books. 

A while ago I saw this card  and I loved all the elements as well as the colors and how she fit them into the circle. I hemmed and hawed about getting the set and finally went ahead and ordered it. Here's my copy of what the creator did. I colored with my pencils instead of Copics. 
I like it for the most part. I'm not sure if I like where I stamped the sentiment. That might change. Setting the stamps up on my MISTI made short work of the stamping. I got the little circles from some other stamp sets I own, they don't come with the Beach set from Hero Arts. Those are stamped randomly. I really like the fun, summery feel of the images. 

And I've taken some pictures of the page I started the other day. 
I colored the leaves that day. Yep, it has a lot of leaves! I came across this video by The Art Spirits and was completely smitten by the colorful leaves. 

Yesterday I got the house basically done. Today I added the shadows to the house and the trim. I also started on the trunk and branches. 

This can be enlarged to see the work close up.
I am enjoying the color choices I am making this time. :)
And finally,
we had some thunderstorms roll through during the afternoon. After we finished dinner and as I sat down to work on this post I noticed the sun was coming out while it was still raining. I hoped we might be able to see a rainbow. 
Here's what we saw from our driveway!
So pretty!


Well, that's it from me today.
Thanks so very much for stopping by. 
I hope you've had a marvelous Monday!
Hugs,
Jeanne

Saturday, June 18, 2016

All Kinds of Coloring Fun!

Hi There!

On my last post, I shared a picture of seahorses that I had finished coloring in the Lost Ocean coloring book. I was deciding what I wanted to color next. Welll, Jessica and I had gone to the book store to see if they had a book she wanted and I can no longer resist looking at coloring books. Jessica tried to get me away from the table, but I just have to pick them up and flip through the pages. It's become a bit of a joke between us, actually. I spotted one that captivated me. And when I flipped through it, I came across a page that made me gasp. Then and there I decided the book had to come home with me. 
This is the cover of the book. 
Joyous Blooms to Color by Eleri Fowler. 
Look at the flowers and the butterflies. I am smitten. 

I chose to wait on coloring the page that made me gasp. I'm too afraid I'm gonna mess it up. The page I decided to color has a nice big bee front and center. It made me think of my sweet and talented friend Barb. She loves bees. :)

Here is the finished bee. Oh my goodness, I had so much fun coloring this. The paper of this book is like a smooth cardstock and my pencils blend SO nicely. I wanted to make the wings look iridescent. I wasn't quite getting the look I wanted until I added a bit of green. Swoon. Then I added some Wink of Stella. Oh my gosh. It's very pretty in real life. 

Here's the bee with the flowers around it colored in. Photo taken on a different day, hence the difference in lighting. 

And here's the finished page. 
I'm very happy with how it turned out. Jessica loves the peach looking flowers. I got that color combination from watching a colorist on You Tube. It's Henna, Peach and Light Peach in the Prismacolor pencils. I also thought about coloring in the center behind the bee, but that's a big space and I'm not that confident that I would do a decent job in that big of a space. Maybe someday. 

And here's some "coloring" of a different sort. My Jessica loves nail polish and nail art. She watches many tutorials on how to do different things with nail polish. She became smitten with an idea using glitter polish and liquid highlighter pens of all things. They look like regular highlighter pens, but the barrel says liquid highlighter. Anyway, take a look at the end result of her efforts.


Isn't that neat? 
I'm so impressed that she has the patience to do this. 

We've sure been having fun coloring these days. 
Gotta love summer break inspiration. 

Thanks so much for stopping by. 

I hope you have a great day.
Hugs!
Photobucket

Sunday, June 5, 2016

Fairy Friends Magical Day and Colored Seahorses!

Hi there!
We sure enjoyed our first week of summer break. It really had a low key feel. But next week, Amy will be volunteering at a STEM camp at the high school. It's the same event she participated in last summer, only this time she will be helping out. She's looking forward to that and also the start of marching band practice.  So, we'll be a tad busier. 

I have been working on doing some cleaning up around the house. The kind of projects I kept putting off because I didn't have time, or more likely, the energy to tackle during the school year. That's felt good. The weather was nice, not to cool and not too warm. I think this next week we are supposed to have a good dose of heat, though. The swamp cooler is up and running, so we should be able to stay cool. 

I've been checking out You Tube a bit more than I have in the past. My girls watch it constantly and while I've watched videos, they are usually the ones that I have been made aware of via blogs. I have never sought out a particular You Tuber and subscribed. Well, somehow, last week, I came across a video by Johanna Basford, the artist who has drawn The Secret Garden, The Lost Ocean and The Enchanted Forest coloring books(I own all three, but haven't colored in them much). I was captivated. She has a lovely accent and her studio looks amazing. She has done a tutorial on coloring the seahorses in The Lost Ocean and I love, love, loved the color combination. That inspired me to follow along and color the seahorses. I did the one on the left first last week and then colored the one on the right yesterday. I did it mostly the same, but changed a few things as well. I'm itching to color the rest of the page. Most likely after I publish this post. :) Anyway, I've been having fun subscribing to  and watching different You Tube channels.
This morning I watched a video on coloring a dragonfly...so pretty! 
This You Tube stuff could become quite the rabbit hole for me...much like Pinterest or Instagram, I'm sure. 

I also came across a card on a Lawn Fawn Flickr Friday post here and I fell hard. So much so that I had to recreate it for myself. I put a couple of different elements in it to make it more my own, but I stayed as true as I could to the color scheme. As close as I could using my pencils. 

I'm only sad that you can't really see the sparkle on this card. I've used Wink of Stella and the Stardust Gelly Roll pen  and it didn't get picked up on the camera. I tried it standing up above and laying down, below. 
Oh well.
Guess you'll just have to trust me that it's sparkly in real life. ;)

That's it from me for now. I truly appreciate you stopping by. 
I hope you have a great day!
Photobucket

Sunday, April 17, 2016

Hello and Happy Mail Card

Hello there!

Whoa Nelly, life is a roller coaster. I can't even remember last time I was in my crafty corner before today. But I got there and was able to create this card using Lawn Fawn's Just For You stamp set, along with their Perfectly Plaid 6x6 paper pad. Images are colored with pencils and Winked just a bit. Sorry for the not so great photo. My batteries died in my camera, so I used my phone. If I waited for the batteries to charge, who knows how long it'd be before I got to post. It felt good to create something! The idea for the card came from a couple of different cards I saw on the internet. 

Amy joined Winterguard this year and had competitions on Saturdays(I helped drive students to the competitions and assisted getting the massive tarp off the floor), so getting to create those days was pretty well not happening. She had such a good time. The group made it to the state competition, but didn't pass the preliminary stage. Given this is the first year in many years her high school has even had their own Winterguard team, I think they did an amazing job! Amy thoroughly enjoyed the experience and is looking forward to next year. 

Back toward the end of March we had a blizzard come through that dumped over 15 inches of snow. We got two snow days, but on the second snow day, I slipped on some black ice and tweaked my right wrist pretty good(or more like pretty bad). It still isn't 100%, but I'm managing. I miss doing my handwork.

Our Spring Break was the first full week in April. And I was happily looking forward to finally getting some creating done. Well, life had other plans yet again. I came down with an upper respiratory infection that kept me on the couch pretty much the whole week. Drat. And I was so generous that my husband and younger daughter caught the same bug. :( My daughter was out sick from school all last week, so I was tending to her most of the week-hubby worked from home one day so I was able to head in to work on Friday. My two co-workers got the same bug over break, so I know where it came from. The perils of working in an elementary school environment. 

Our weather has also been on a roller coaster. After that blizzard I mentioned, we had some wonderful spring like weather with temperatures in the upper 60s and low 70s. This weekend? Snow! Next week-upper 60s to upper 70s. Gotta love the Colorado weather ride!

Thanks for stopping by. I know I am so hit or miss on posting. I sometimes wonder if I should even bother blogging anymore. Do I add much, if anything, to the realm of blogging about what I create?  Is it even interesting to anyone? I do so appreciate your visit, though and I hope you have a wonderful day!
Photobucket

Monday, June 22, 2015

Make a Wish Card

Hi Friends!

I am such a copy cat! I watched a video by Nicole on the Lawn Fawn blog and really liked how she created a watercolor background. I tried my hand at it right away and was happy with how it turned out. Yay! I also splurged just a bit and ordered the party animal stamp set as well as the puffy cloud dies from Scrapbook Pal. To my total surprise, the order came within 2 days! Gotta love that. :)

I sat down to color the images from the set today and cased the card Nicole made. I did tweak it a bit by adding a party hat to the deer and changed out the present for a little cake. I also colored with pencils and did some blending with odorless mineral spirits. Those little party birds are adorable!

I didn't order the dies to go with this set, so the images were fussy cut. I decided not to leave a white border and I like the look for this card. I had to be careful in a few spots, but if I had some white showing, I used a black Micron pen to fill it in. Worked like a charm! This shot is to show the dimension I got by adding some foam squares. I also wanted the balloon to be a bit behind the deer, so I didn't pop that image up.
You couldn't tell in the other photos, but I added a liberal spritzing of Perfect Pearls and water in a mini spritzer. Love the shimmer it leaves. I sat the card in front of a sunny window and was able to capture a bit of the shimmer. Feel free to enlarge if you'd like. 

I had hoped when I did the watercolor background that I could pull up my tape and have a nice white border. Um, that didn't work out quite as planned as some color seeped under the tape. I trimmed it off, then adhered that piece to a cut using a stitched rectangle die. 

That's it from me today. Thanks so very much for stopping by. 
I hope you are having a happy day!

Photobucket

Saturday, June 20, 2015

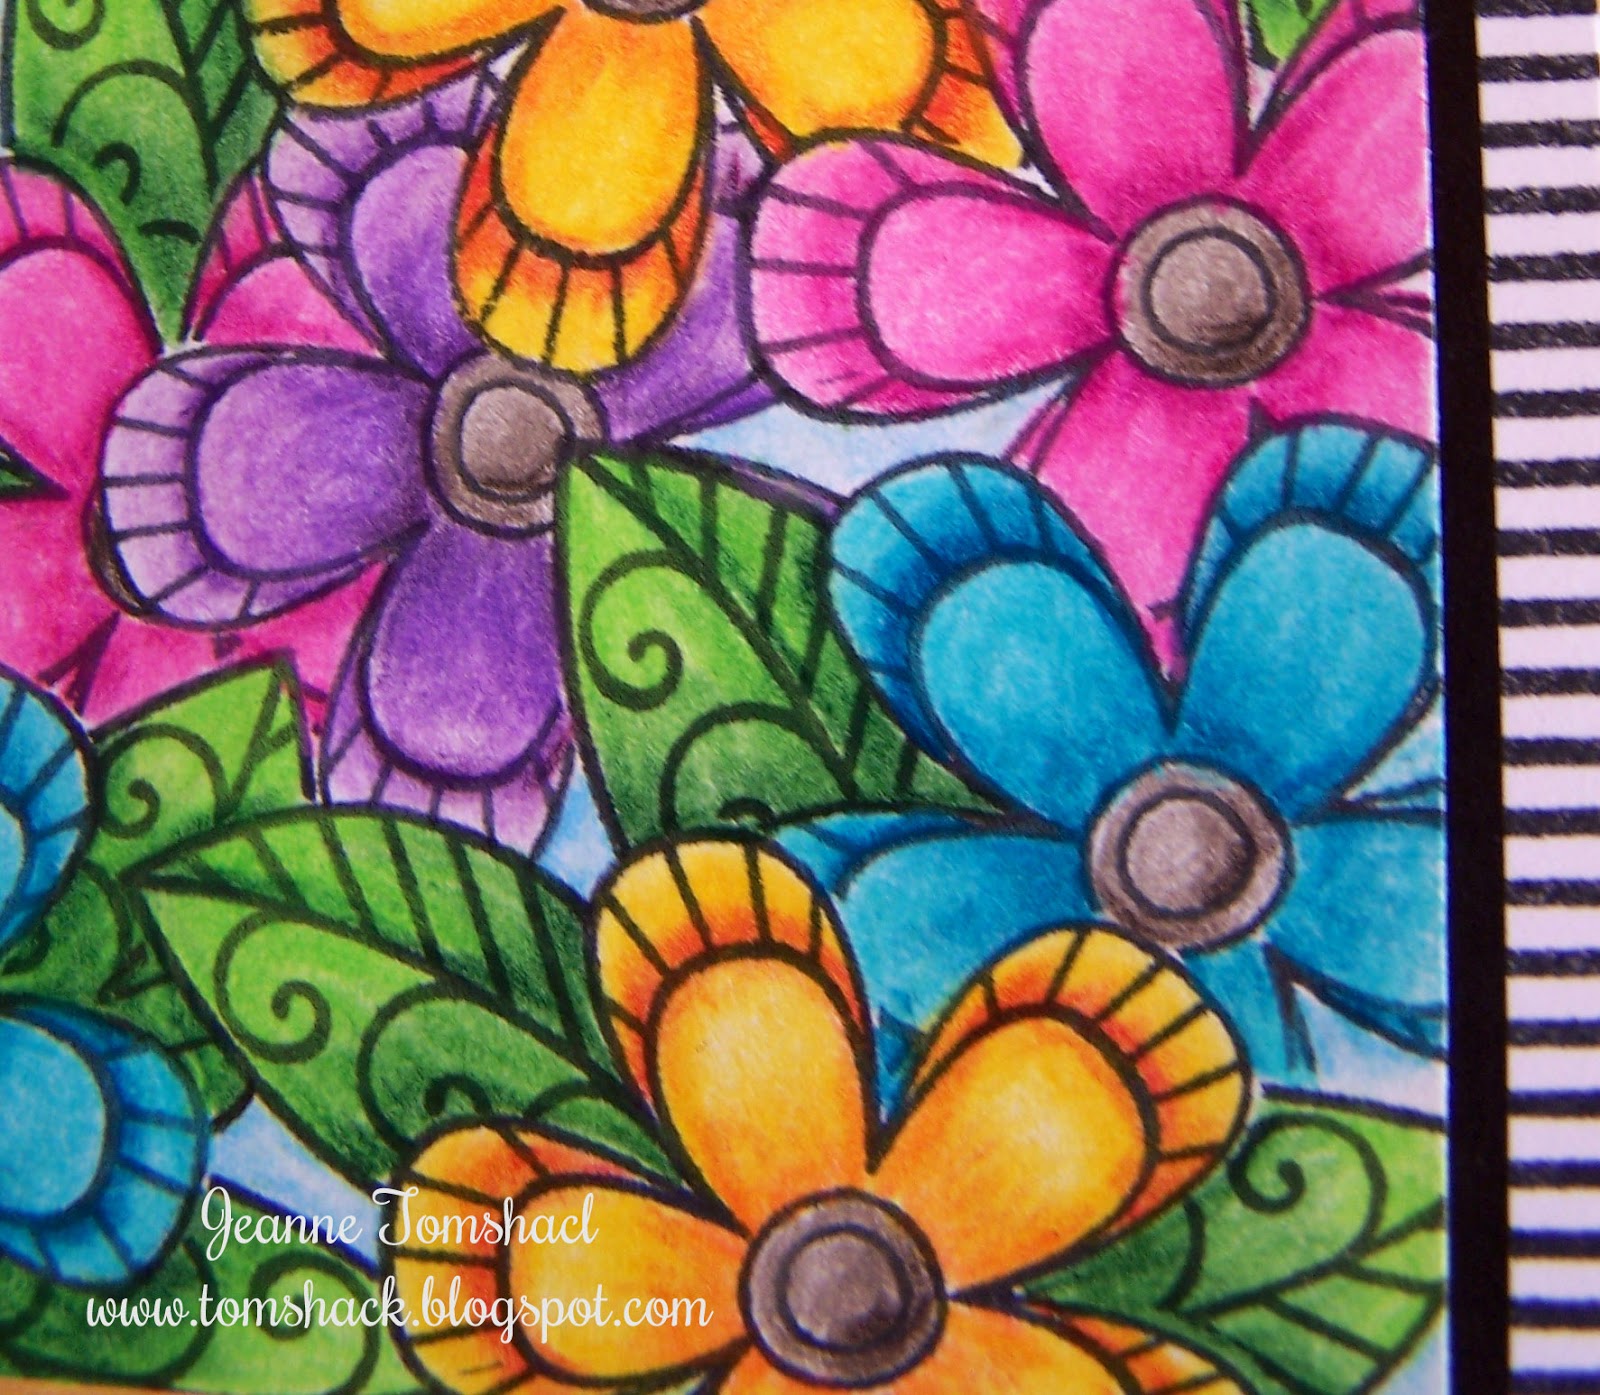
Doodle Flower Fun

Hi there!

I've got a card today that is completely inspired by a card I saw on Kelly Latevola's blog called You and Your Big Dreams. I have become a big fan of hers over the past few months. Her work is absolutely gorgeous and she is hilarious as well. She has a pretty cute little boy, too. She has no idea I'm singing her praises. If you haven't discovered her for yourself, you might want to take a looksee. :)

She has mad skills with Copics and she can doodle and enhance stamp images fabulously. Another thing she does that has impressed the heck out of me is mask. In the card I linked (and cased), she mentioned she used four masks to get the flowers and leaves to work. I wasn't exactly sure just what she did, but I sat down yesterday to try to figure it out. I think I sorta got it. I cut three masks of the flower and two of the leaf. By that, I mean I stamped the flower image three times on my all over sticky Post it note paper and two images of the leaf and I cut them out. Then I started stamping and masking. I absolutely did use her card as my guide. 

Then I started coloring. Only I colored with my pencils! I had fun trying to mimic the bold colors Kelly uses. I think I did okay. I didn't blend the colors with odorless mineral spirits on the flowers and leaves, I just used different pencil colors. 

Enough jabber for now...take a look at what I ended up with!
I love it!
:)

Squeal....

I really wanted to add some white dots, but, these pencils have a wax base and experience tells me the white gel pen doesn't play well with that, so I reluctantly left off the white. In the future, I might play with using some paint, but I didn't want to ruin this work. If anyone has suggestions on how I could add white dots, please share!
The side stripe strip is something I learned from a Jennifer McGuire video. She has a stripe stamp, stamps the image and she cuts a strip off to add to the side of the card. I usually forget about doing that, but not today! I wanted to add a sentiment, but wasn't sure which one, or where to put it. Not to mention I don't have fun single word dies. I could have found one to cut with my die cut machine, but again, not sure which one I'd want to use. 

Looking at this card makes me happy!

The stamp set I used is from a company called Dare 2B Artzy and the set is Doodle Flowers. My local scrapbook store carries some of this line and I really like the Zentangle aspect of the stamps. 

Thank you for stopping by and if Kelly stops by to see this, thank you so much for sharing what you love. It is very inspiring!

I hope you have a fantastic day.

Photobucket

Saturday, June 13, 2015

Tank You, Dad and a Watercolored Flower

Hi Friends!

Long post alert. 

Did you see Kristina Werner's Tank you, Dad shaker card here? I thought she did a great job with it and I was inspired to make a version. I don't own the letters or the Lawn Fawn stamp set she used, but I didn't let that stop me! I found a similar style of lettering on the Artiste cartridge for my Cricut (cut at 3/4 inch) and I own the Paper Smooches version of fish stamps called Surf and Turf. 

And here is my version of the card. Mine is 4 1/4 by 5 1/2.  I think that is called standard size?


Close up so you can see some of the sequins I used. I also used Wink of Stella on the white space of the letters, but the camera didn't pick it up. I almost wanted to add something to the white frame, but was too afraid I would mess it up and didn't want to have to start that over again.

It was a fun card to make. I took my time and let it dry before adding to the background('m learning patience with watercolor techniques). I used the freezer paper method of masking that Kristina showed and it worked very well, I think. I will have to remember that!

The images are colored with Prismacolor Pencils. I didn't used odorless mineral spirits to blend this time.  Even though I used two layers of foam tape, the loose fish pieces still stick. Might be smart to add a third layer. Oh well. I think Steve will like this card that will be from the girls next weekend.

And here is my second card. I keep seeing these card where the image is heat embossed and then watercolored inside the lines. My friend, Barb's work really inspires me. So I sat down to play a bit yesterday. I heat embossed the stamps from an old June, 2013 Stamp of the Month Close To My Heart flower set called A Flowering Bunch with Versamark Dazzle Champagne ink and clear embossing powder. I might try this again with white embossing powder. Then I used Pear ink for the leaves and Vineyard Berry for the flower. I squeezed the ink onto the inside of the lid and picked up the color with a wet brush. I like the variations in color I was able to get. I originally was going to try to use different colors of pink, but in the end liked the variations of the single color best. 


I tried to get a close up to show the Wink of Stella I added to the images, but my darn camera didn't pick up the sparkle. 

The background stencil is one I picked up at Joann. I used Blush ink . The thank you is from Lawn Fawn and the die is Spellbinders. 

The sparkling sequins are a super happy mail surprise from my friend Alanna. 
Thank you SO much, sweet friend! Made my day!
:)

That's it from me today. 
Thanks so much for stopping by. I hope you are having a happy day.

Hugs,
Jeanne